A new floor may completely transform the appearance of a home, and it’s among the most crucial aspects of a structure’s design. It’s also one part of your home’s decor that may be found in every room.
Remodeling is always an option for folks who live in a home with the flooring they don’t enjoy or feel comfortable with. There is a lot to learn if you want to renovate your house flooring but don’t waste extra cash on floor demolition.
So, to assist people who want to perform their flooring remodeling, we’ve created this do-it-yourself floor destruction guide. San Tan Valley Dustless Tile Removal is significantly more convenient and less time-consuming.
DIY Floor Demolition #1: Remove Fixtures
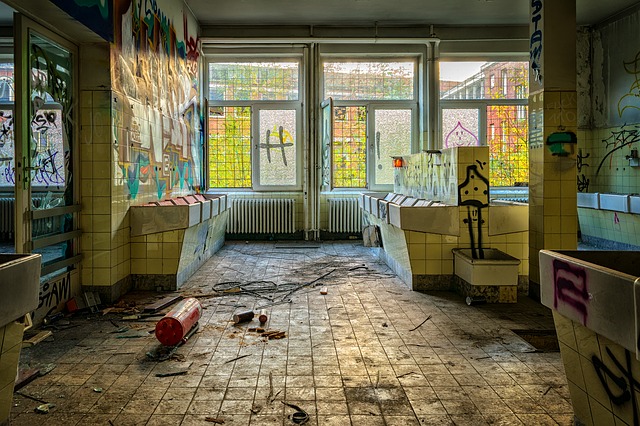
Before removing tile, remove anything on top of the tile surface. Otherwise, demolition may harm appliances and fixtures. For removing toilets and sinks, turn off the water supply first.
Then, if removing a toilet, empty the bowl or tank. Finally, loosen bolts, lift fixtures with care, and store until new flooring is installed.
Remember to remove baseboards that are laid over the top of the tiling before demolishing the floor. If you remove tile without removing the baseboards, you risk damaging them. Insert crowbar end into baseboard top seam and use the wall as leverage to tear board and nail from drywall.
Without care, drywall can be damaged. So, if you’ve never done it, ask a buddy or hire San Tan Valley dustless tile removal pros.
DIY Floor Demolition #2: Choose a Spot to Begin
First, identify a beginning place for your demolition. It’s preferable to start in a corner so, you only work in one area, and there is less confusion.
Once you’ve chosen a starting point, don’t forget your safety gear. Remove tiles with a chisel and a hammer. Throw away chipped, broken, and removed tile as you go so you don’t go back and pick up large, heavy pieces.
DIY Floor Demolition #3: Repair Subflooring
If your tile wasn’t laid directly on concrete, there’s a good chance you’ll harm the subfloor or underlayment.
After removing the tile, inspect it for holes, chipped, and uneven surfaces. No new flooring can be installed unless the subfloor is ready. So, before installing flooring, repair or replace subflooring as needed. San Tan Valley Dustless Tile Removal can help with both.
DIY Floor Demolition #4: Cleaning Subflooring for Installation
The subflooring must be completely clean before you can regrout tile or fit another type of flooring. It is essential to remove any loose or damaged nails or adhesive before installing.
Subflooring must also be swept and dusted following tile removal, which may seem difficult. If there is dust on the floor, fresh glue or other adhesives may not work well. Removing tile produces a lot of dust that settles. Cleaning up may take a week or two.
![]()
Skip Aggravation and Contact San Tan Valley Dustless Tile Removal Experts
It’s easy to think it’s a quick and straightforward process. It’s hardly rocket science, but it’s difficult, not very enjoyable, and not quick to do it by hand.
DIY floor removal isn’t ideal for most individuals because it takes a lot of time, energy, risk, and work. It’s also not the most cost-effective solution for subfloor damage, repairs, blunders, and renting proper disposal equipment.
Contact Kodiak Tile and Stone, or you can fill in the compact form for a direct reply and get the best tile removal help you can find.
You can check out customer reviews here, ‘SoTellUs,’ and the BBB reviews for more information.